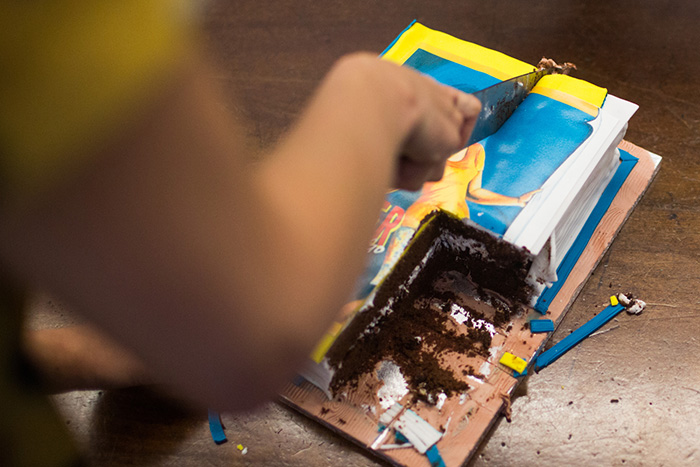
I’m not sure how many of you know this, but I work for Lush and this week my baking task was to bake a birthday cake for Danger!…Cosmetics to Go – It has been a year since the launch of this amazing book that tells the story of the company that came before Lush.
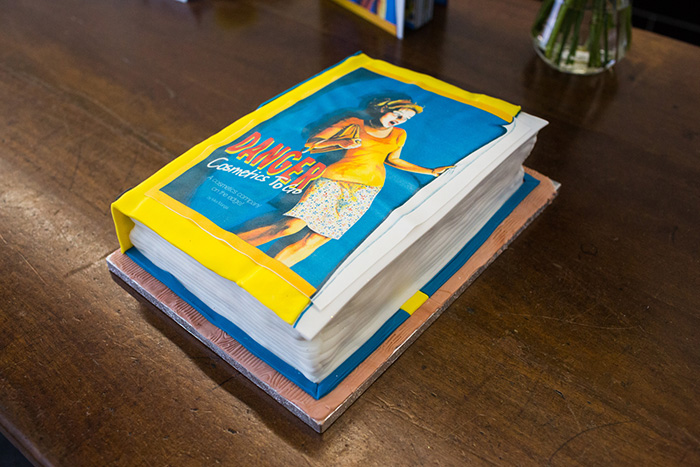
When the beautiful Mira (who wrote the book) asked me if I could help make a cake for the party I jumped at the challenge. Although I must have been so excited that I didn’t read the email properly…I totally forgot to make the sponge blue and yellow, and when I revealed the cake they were so surprised it was a book! I totally thought that was what they had asked for but having looked back at the email they did simply ask for a cake with the cover photo on the top. At least it was a good surprise!!!
I have recently been watching Jamie Oliver Comfort Food and the minute I saw his Chocolate celebration cake I knew I had to find a reason to try it out. This was the reason!

My amounts will make a rectangle cake to feed a large amount of people – if you want to down size it a little you can find the original measurements and baking time here.
[callout title=Ingredients for the Chocolate Sponge:]
- 500g g unsalted butter
- 300 g quality dark chocolate (70%)
- 4 tablespoons olive oil
- 600 g caster sugar
- 12 large free-range eggs
- 300 g self-raising flour
- 2 pinches of salt
- 8 tablespoons quality cocoa powder
[/callout]
Method:
I actually baked this in 2 batches so halved the ingredients and made 2 separate cakes.
- Preheat the oven to 180°C/350°F/gas 4
- Grease the cake tin – I used release spray
- Break up the chocolate and melt in a large bowl with the butter, oil and sugar over a pan of simmering water until glossy
- Leave to cool for 10 minutes
- Using an electric hand whisk beat in the eggs one by one and mix well
- Sift in the flour salt and cocoa powder and beat until just combined – this won’t take long
- Pour in to the greased tin/s and bake for around 20 minutes
- Leave to cool for a few minutes in the tin and then transfer to a wire rack to cool completely
[callout title=Ingredients for the chocolate rice layer:]
- 150 g quality dark chocolate (70%)
- 1 large knob of butter
- 50ml double cream
- 50 g puffed rice cereal
[/callout]
- For the crispy chocolatey rice layer, break up the chocolate and melt with the butter and cream in a large bowl over a pan of simmering water until glossy
- Leave to cool for 5 minutes
- Stir in the puffed rice until coated evenly
- Spread the chocolate rice all over the base layer of the cake
[callout title=Ingredients for the Rose nougat frosting:]
- 4 large free-range egg whites
- 6 tablespoons runny honey
- 40000 g caster sugar
- 1 teaspoon cream of tartar
- Pinch of salt
- 1 teaspoon vanilla extract
- 1 teaspoon rose water
[/callout]
Method:
- Place the egg whites in a heat proof bowl with the honey, sugar, cream of tartar a pinch of salt and a splash of water
- Heat over a pan of simmering water – turn up the heat and with an electric hand whisk beat for 6-7 minutes or until peaks start to form
- Remove from the heat and add the vanilla extract and rose water – carry on beating until thick
- Leave to cool for 10 minutes
- Spread half of this over the chocolate rice layer and keep the remainder to go on top and around the sides
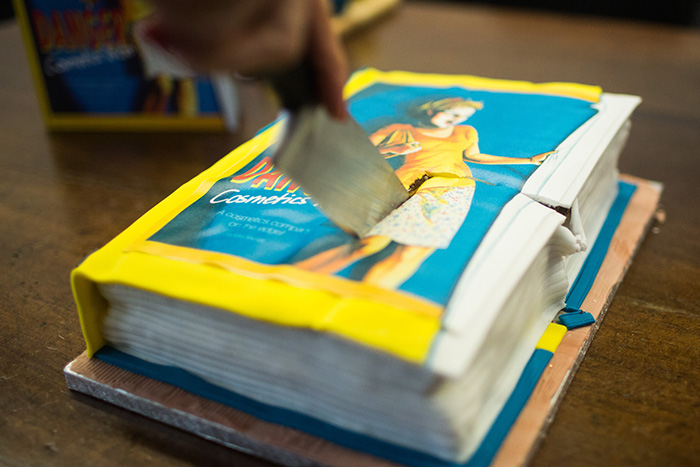
How to put the book together:
- Place the top cake layer on top and spread a thin layer of nougat frosting all over the cake
- PAGES: Roll out some sugar paste and cut to the same height as your cake. It needs to be long enough to go around 3 edges of your cake. Use a ruler to make some page indentations. Roll it around your rolling pin and then un ravel onto the sides of the cake.
- COVER: Roll out a sheet of sugar paste. I mixed in some flower paste to make sure it firmed up nicely. Roll out and cut it to size – you need it to over hang you cake slightly on the sides and then go down the spine of the cake. Gently lay this onto the cake
- BACK COVER: Roll out a thin layer of sugar paste and cut into a cm wide strip. Place this on the cake board to give the illusion of the back cover
You can then decorate the book however you need to. I got the front cover image printed onto icing using edible ink at The Cakery. If you get this done, don’t get it done too far in advance. I learnt this by getting organised…a little too organised! When I went to peel it off the backing it wouldn’t come off so I had to get it re done. The kind staff in the shop suggested I placed it in the freezer for a while before trying again so I will see if this works.
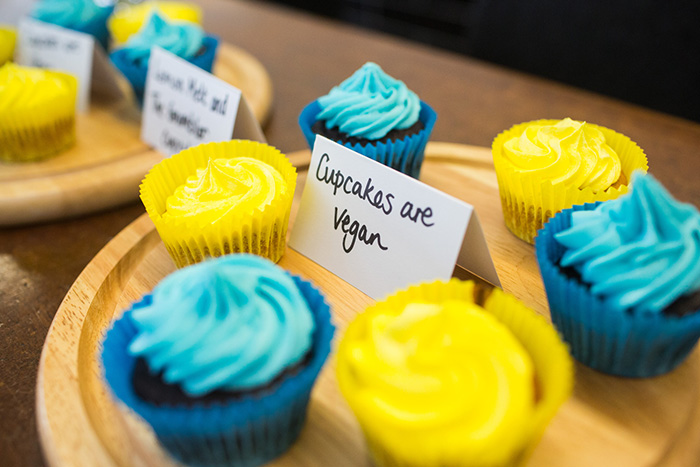
I also made some vegan cupcakes to go with the cake – Lemon (after the product Lemon Melt) and Mint chocolate (after the product called the Grumbler) but I will show you how I made these in a later post.
I find it really hard to receive praise for my baking so thanks to Mira for announcing to everyone that I made the cake and for making me go bright red by getting me to describe the flavours. And yes…I have been watching The Great British Bake Off!!! Here is me looking rather embarrassed…

“When Cosmetics to Go launched it lit up the sky dazzling everyone in a trail of revolutionary cosmetic products. This is their story.”
Photos courtesy of Richard Skins and Felicity Milward from Lush
You are super talented Mrs H! Cake looks amazing and I love the photo of you at the end. Well deserved praise as always, love jem x x x