[schema type=”recipe” name=”How to make a Massage Themed Cake” author=”Rachel Howard” pubdate=”2013-06-23″ image=”http://www.sundaybaking.co.uk/wp-content/uploads/2013/06/Massage-700.jpg” description=”A massage themed birthday cake” prephours=”2″ prepmins=”30″ cookmins=”20″ ]
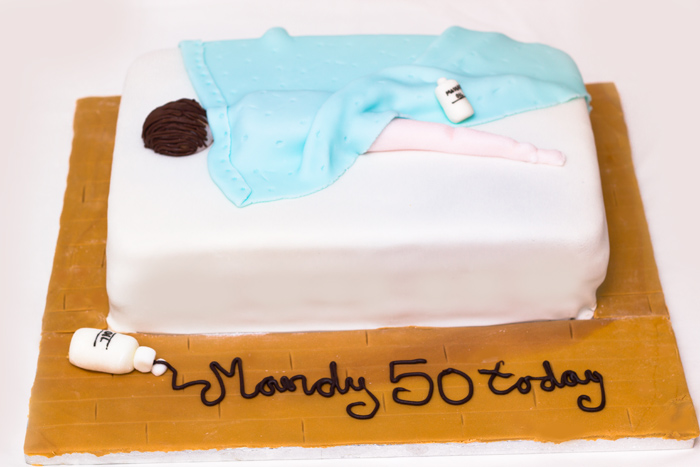
Just a quick post today to show you the latest cake I was asked to create. A friend asked me if I wouldn’t mind decorating a cake for her sisters 50th Birthday – she’s a qualified massage therapist so they wanted something along this theme.
So I got to work on Google images and saw a few like these.
My friend made the cake (chocolate) and I then decorated it as follows:
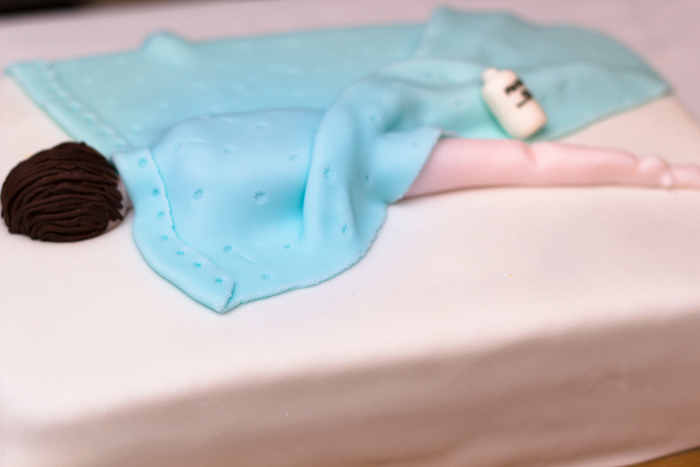
I decided to have the head on the cake rather than at the end on a head rest. So I cut a small circle out of the cake to make a place for the head to fall into.
BED: Cover the cake with buttercream (we used ganache as the birthday girl doesn’t like buttercream) and then lay on a thin layer on fondant icing in any colour you wish. As an after thought, I should have used a dark blue to contrast with the colour of the blanket. I just buy a block of ready to roll fondant icing. Lay it over the cake and then softly press it into the cake sides to make sure the whole cake is covered. I had a bit of the icing break as I placed it over the cake but managed to cover it up with the drape of the blanket so don’t worry if this happens! I then use a smoothing tool to make sure the icing is as smooth as possible.
HEAD: Roll a ball of pink fondant icing to the size you want the head to be and then place it in the hole you made. Roll small pieces of brown fondant into small strips and glue onto the back of the head with a little water to create the hair
BODY: Although you can’t see the body, I just shaped a piece of pink fondant into a back shape.
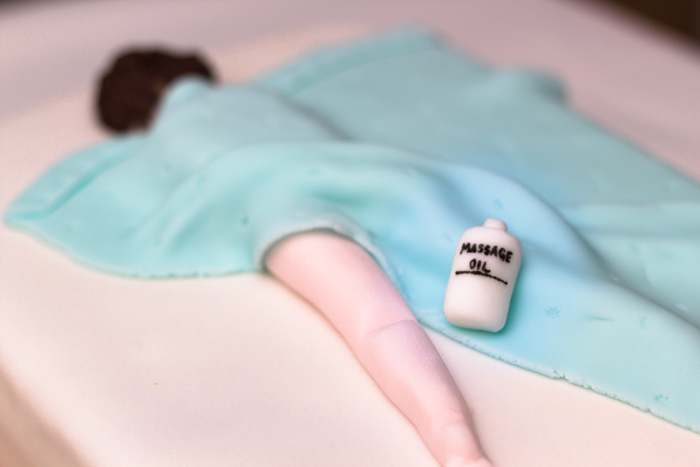
LEGS: This was the trickiest part. I rolled out a sausage shape of pink fondant and then moulded it into what I thought looked like the thigh and calf shapes of a leg. Then I made a foot shape with a ball of fondant and then 5 little balls for the toes. Then I just moulded it together with my fingers to create the foot. Place this on the cake. The other leg can just stay in a sausage shape as it’s not seen.

BLANKET: This can be any colour you want. Roll out the fondant really thin as this makes it easier to drape over the body. A while ago I bought a cheap set of modelling tools. As I didn’t have any stencils, I used one of the tools to give the blanket a bit of texture. I think it’s called the star tool. I just pressed it onto the fondant to create a nice interesting pattern then draped the blanket over the top of the body. Use the folds and creases to place it over the body.

BOTTLES: Just to add a little finishing touch I made a bottle out of white fondant and wrote the words using an edible ink pen
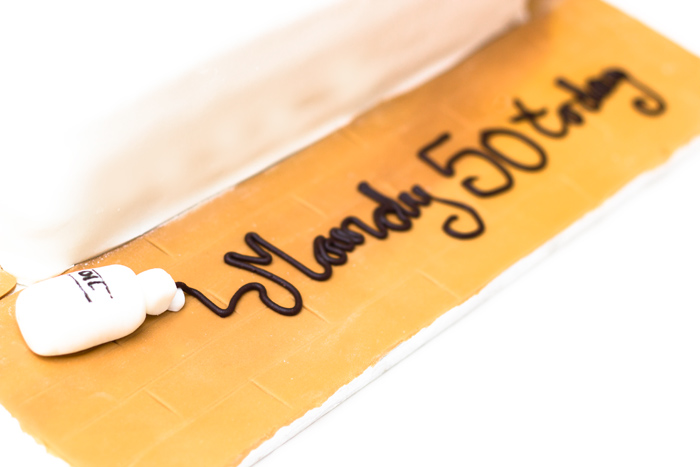
FLOOR: I just rolled out two tones of brown fond
ant together to make it look moor like a wood colour. I stuck it to the cake board and used a blunt knife to mark out the floorboards

WRITING: Using some chocolate writing icing I just piped out the writing to make it look like it was spilling from the bottle
In all, I think it took me around 2 hours and the icing bits cost around £15.
I hope it went down well…I’m sure I’ll find out on Monday!

Leave a Reply