[schema type=”recipe” name=”Vintage Shabby Chic Themed Birthday Cake” pubdate=”2014-05-09″ image=”http://www.sundaybaking.co.uk/wp-content/uploads/2014/05/Vintage-cake-7001.jpg” description=”A Vintage Shabby Chic themed birthday cake – and everything on this cake is edible. ” ]
After a week of pain (in more ways than one!) it was a welcome distraction when I was asked to make a birthday cake for a friend of a friend. Vintage Shabby Chic was the brief…so I set to the trusty internet to find some inspiration.
I couldn’t find anything that I liked the look of so I got creative – and I really enjoyed it. It’s been a while! This cake took 2 evenings. The first to bake and prepare the flowers and the second to decorate. This is how I did it…
CAKE: Carrot cake was requested so I baked a 9×9 square using the best carrot cake recipe. This also made 6 cupcakes. The only adjustment I made was to the cooking time. After the cupcakes were done I set the timer at 10 minute intervals until a skewer inserted into the middle came out clean. In my oven it took an extra 20 minutes.
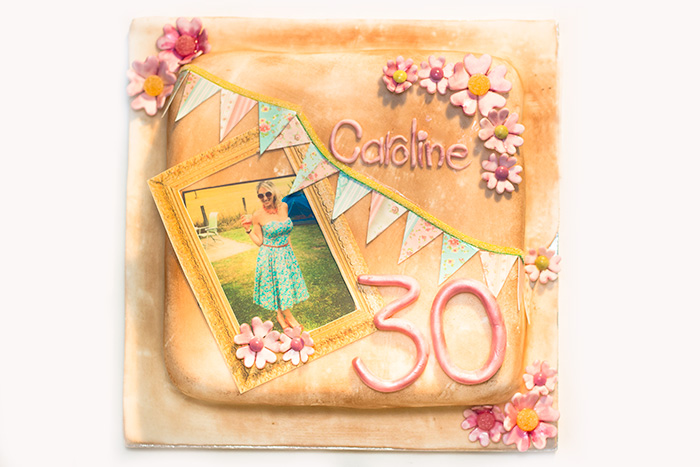
ICING: Once the cake was cooled I covered it in a layer of cream cheese frosting (found in the best carrot cake recipe page). I popped it in the fridge while I rolled out the fondant icing. I found a 1kg pack was plenty as I like to roll it reasonably thin. I then placed this over the cake. To give it a vintage look I dusted it lightly in cocoa powder.

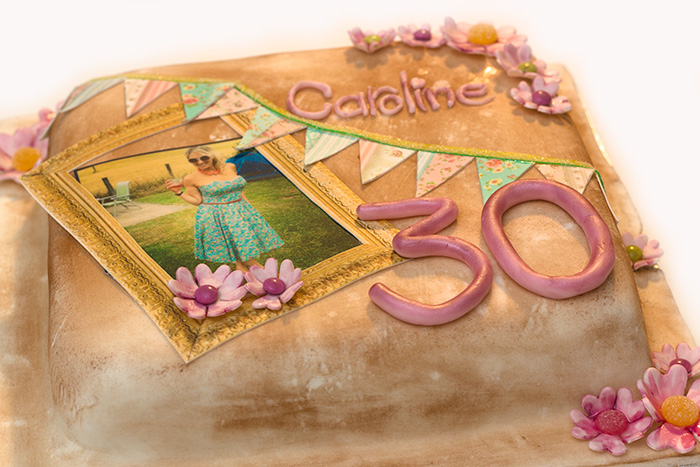
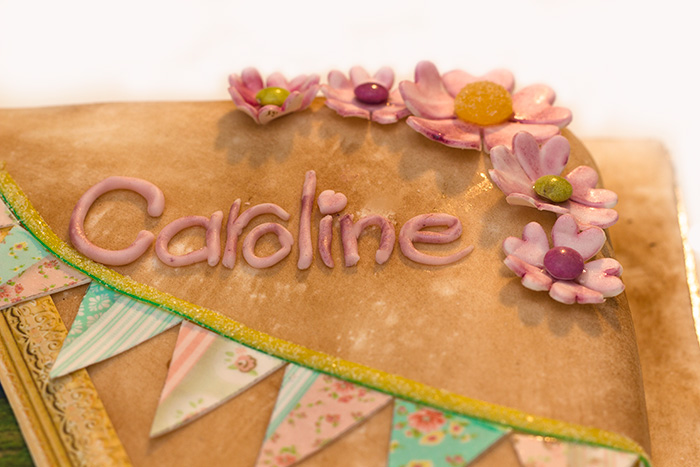
FLOWERS: The flowers were made with thinly rolled out white flower paste so they dried hard. Using a flower cutter like this one, I cut the flower shapes out and shaped them into a flower shape. Just by gently placing them on a board upside down and in position I left them to dry over night. The next night I painted them with a mixture of a blossom tint and vodka. Ideally you then need to leave them to dry overnight again, but I didn’t plan that far in advance so put them on the cake slightly wet. Be careful if you have to do this as they are very weak when wet! In the middle of the flowers I put a jelly tot (for the bigger flowers) or a chocolate drop from an ice cream topping mixture pot (for the smaller flowers) and secured them with some edible glue.
BUNTING: I knew that I wanted some pretty floral patterns for the bunting so I just searched the internet for vintage shabby chic patterns. I copied and pasted them into a word document and emailed it off to my (amazing) local cake decorating shop – The Cakery. They then printed the patterns out onto edible icing for me. All I did was to cut out triangle shapes and glue them onto the cake like they were draping down the sponge. To add a bit of texture I used a thin slice of a multicoloured sugar lace sweet.
PHOTO AND PHOTO FRAME: Just like the bunting, the photo frame and photo were just printed onto edible icing, cut out and glued onto the sponge.

LETTERING: For the lettering I rolled out sugar paste and shaped it into the letters and numbers. I then dusted on some blossom tint to create a shine.

And that’s it! A beautiful vintage shabby chic themed birthday cake. Happy 30th Caroline…I hope you didn’t want to keep your age a secret!? x
Leave a Reply