[schema type=”recipe” name=”Ultimate Chocolate Cake Recipe (Sky Diving Themed Cake) ” author=”Rachel Howard” pubdate=”2015-09-27″ image=”http://www.sundaybaking.co.uk/wp-content/uploads/2015/09/Skydiving-header-700.jpg” description=”A large chocolate celebration cake recipe with real chocolate buttercream. Themed for a Skydiver! ” cookmins=”35″ yield=”20″ ]
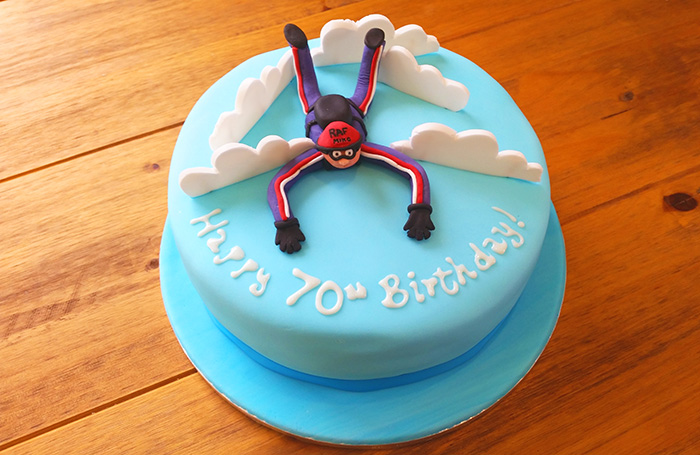
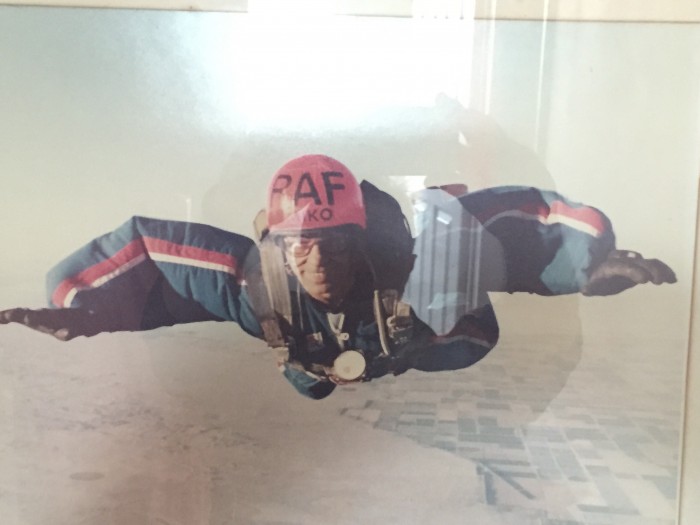
This week I made a Skydiving celebration cake. I was given an image from when he used to Skydive with the RAF and was left to my own imagination from there and this is what I created.
I’m afraid as I was still a little poorly when I made the models, I didn’t have the energy to photograph the stages so I will just have to try and explain the process to you!
I searched around for a good chocolate cake recipe as some chocolate cakes can be a bit dry. The creator of this recipe claims it’s The best chocolate cake recipe {ever} and do I agree?…..yes I do! After trimming down one of the cakes I covered it in a bit of the buttercream and had a try….delicious, moist and full of flavour.
I adapted the buttercream recipe from a different blog as I really wanted to use real melted chocolate in it to make sure it was full of flavour. This is an amazing recipe of which I plan to top plenty of cakes with in the future.
[callout title=Ingredients for Ultimate Chocolate Cake sponge]
- 280g plain flour
- 400g caster sugar
- 80g cocoa powder
- 2 teaspoons baking powder
- 1.5 teaspoons baking soda
- 1 teaspoon salt
- 1 teaspoon instant espresso powder
- 245ml milk
- 80ml vegetable oil
- 2 eggs
- 2 teaspoons vanilla extract
- 240ml boiling water
[/callout]
As I was doing a celebration cake for 20 people and I wanted a decent sized cake, I used an 11″ cake tin and made 2 batches (so two 11″ cakes). This recipe would also be fine spread between two 9″ cake tins.
Method:
- Preheat the oven to 180C and line or spray your cake tin (I lined mine with parchment paper)
- Put the flour, sugar, cocoa powder, baking powder, baking soda, salt and espresso powder in a large bowl and mix until combined. I did this in a freestanding mixer with the paddle attachment.
- Put the milk, vegetable oil, eggs and vanilla extract into a jug and whisk gently.
- Add the milk mixture to the dry ingredients and mix on a medium speed until well combined.
- Reduce the speed and slowly add the boiling water. Beat on a high speed for about one minute.
- Pour the batter into your tin/tins and bake for 30-35 minutes (my large 11″ tin with all the batter took around 40 minutes to cook) – insert a cocktail stick – if it comes out clean it’s cooked!
- Remove from the oven and let to cool for 15 minutes before removing it from the tin.
- Let the cake cool completely before frosting.
[callout title=Ingredients for the Chocolate Buttercream]
- 375g butter
- 200g giant chocolate buttons (or whatever chocolate you want your frosting to taste of!)
- 200g icing sugar
- 6 tablespoons cocoa powder
[/callout]
This amount was enough for sandwiching and coating two 11″ cakes and a little extra for the cake off cuts!
Method:
- Melt the chocolate buttons in the microwave or over a pan of hot water and leave to cool slightly.
- Cut the butter (room temperature) into cubes and cream it in a freestanding mixer.
- Add the icing sugar slowly.
- Pour the slightly cooled melted chocolate into the mixture and mix well.
- Add the cocoa powder and mix.
- Turn the speed to high and beat the mixture until thick and creamy.
Now onto the decorations!
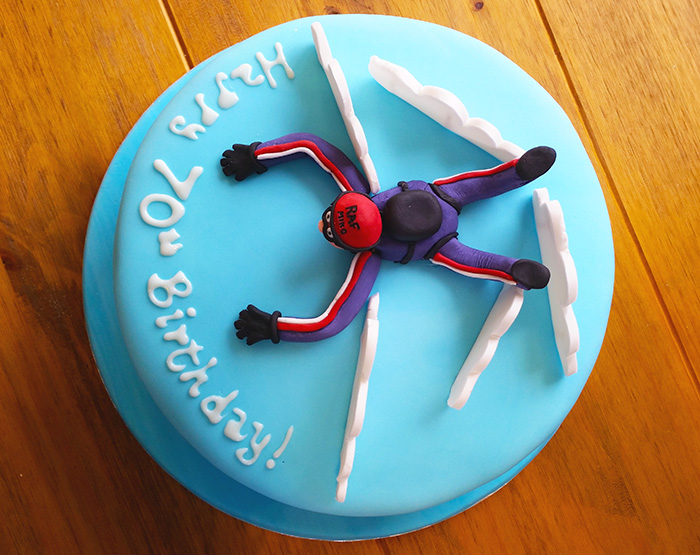
CLOUDS: I used flower paste to create the clouds as this dries hard. I rolled the white paste out and cut the cloud shapes out using a sharp knife. I popped some cocktail sticks into the bottom of the clouds while they were still soft so it was easy to attach them to the cake. Just make sure you make these in advance so they have time to fully dry (laying plat in a dry, cool space) and harden so they stand upright on your cake. When you come to add these to your cake, just pop the cocktail sticks through the icing!
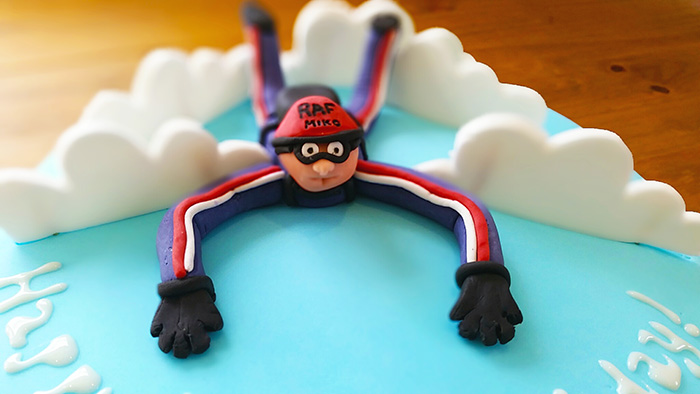
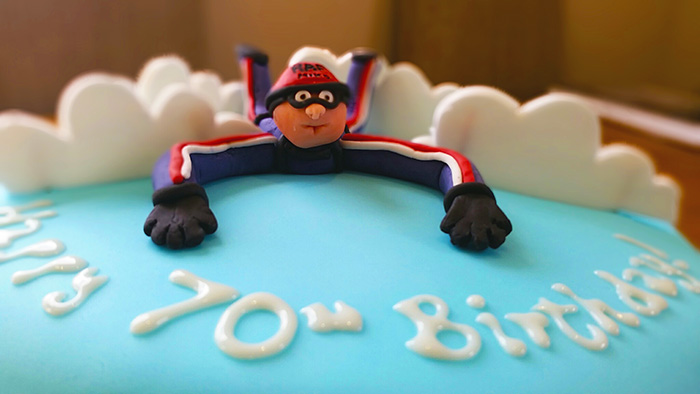
SKYDIVER: For the Skydiver I used a mixture of flower paste and ready to roll fondant icing. The main body needed to be flower paste so the bent legs and arms would dry hard and not flop down on the day. Make each section of the body individually and stick them together using cocktail sticks and edible glue. Fondant icing does dry hard when left out, but it’s not quite as stiff so I only used this for the head, shoes, gloves and clothing decorations. I copied an image I was given of the recipient of the cake for the colourings and detail, but you could do any colours you wish! I wrote the helmet words on using an edible ink pen.
WRITING: I wanted the writing to blend in with the clouds so I chose a white chocolate flavoured icing pen. This spread a little more than I was expecting it to so just take care if using something like this. I also tried to melt down some white chocolate and pipe this on for the text but I couldn’t get it to melt to the right consistency.
SKY: The blue icing to cover the cake was white fondant icing coloured using wilton food gel (sky blue). I usually struggle to get an even colour when colouring fondant, but in this case it would have been fine as it would have given a cloudy feel. Typically, this meant I got a lovely even blue colour without even trying! I find these videos really useful if you are new to covering cake boards and cakes with icing.
I really enjoyed making this cake so I hope the family enjoying this today have a great day celebrating!
Happy Birthday Mr Mikolajewski!
x Rachel x
Leave a Reply