[schema type=”recipe” name=”How to make a Superman Cake” author=”Rachel Howard” pubdate=”2013-06-06″ image=”http://www.sundaybaking.co.uk/wp-content/uploads/2013/06/superman-close-700.jpg” description=”A Superman birthday cake! ” prephours=”1″ prepmins=”30″ cookmins=”30″ ]
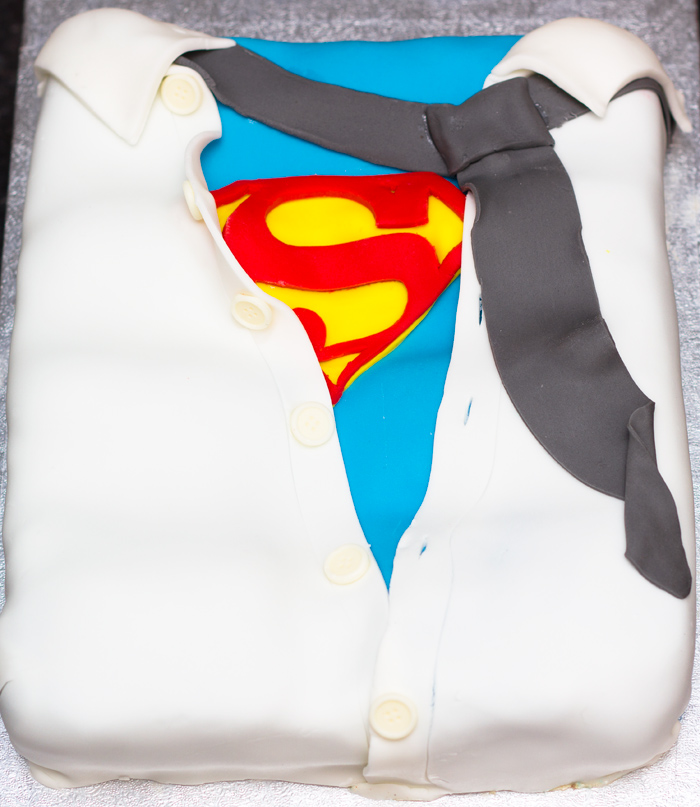
It was a really good friends birthday this week. This friend helped me out recently with some photo editing and refused to let me pay him for the help…so what better way to thank him than with a surprise Superman birthday cake!? I was inspired by this great chest design so thought I’d give it a go myself.
This cake was one of the easier of the decorated cakes I have made. Here’s how to do it…

THE CAKE:
- Bake a cake! I used this recipe to make a carrot cake as it’s his favourite type of cake. A sponge would probably be easier to carve if you’re a complete beginner.
- Let the cake cool. I left it overnight (wrapped in clingfilm) as I knew this cake was a nice moist cake that wouldn’t dry out.
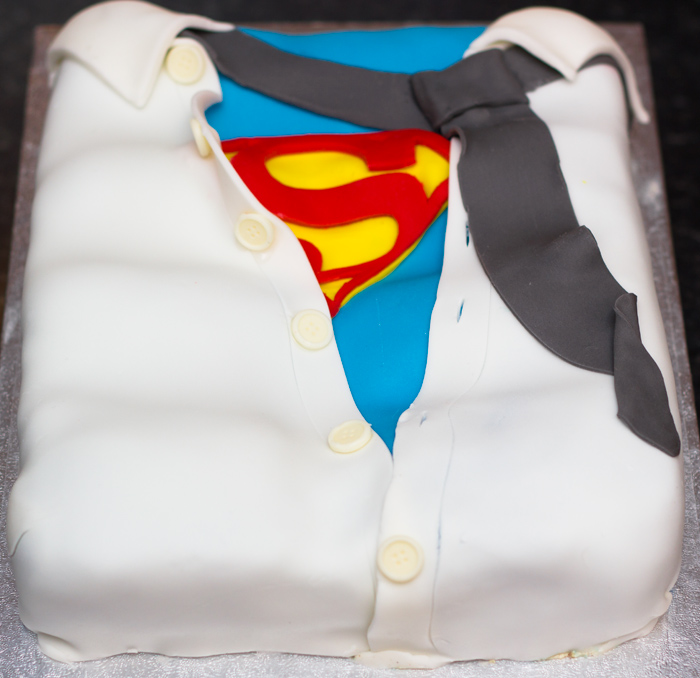
- Carve the muscles – I just cut a small strip lengthways down the cake and then small strips across. Just enough to make in indent (and it meant I could taste the bits I cut out!).
- Cover the cake with frosting. I used the cream cheese frosting on the carrot cake recipe. Dollop it on where the ‘muscles’ are and carve it into a shape of a toned muscle
THE SUPERMAN TOP:
- Roll out a thin layer of blue fondant icing and lay over the cake. Smooth over the muscles to create the shapes.
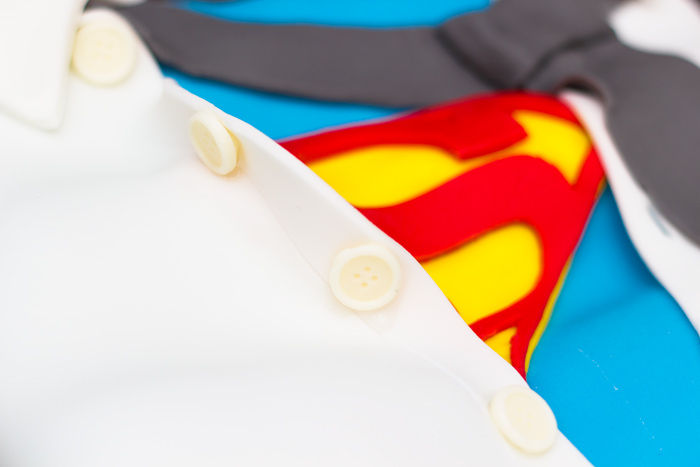
- Using a Superman logo mould like this one, press in some red fondant icing. Remove from the mould and cut out the bits to remove with a sharp knife.
- With the same mould, press in some yellow fondant icing, remove and cut around the shape. Lay the red fondant over the yellow fondant and you have the Superman logo!! With a little bit of frosting stick this onto the chest.
THE SHIRT AND TIE:
- Roll out some white fondant icing (the thinner you can roll it the better)
- cut one straight line down the icing then score a line down the edge to create the hem line
- Lay the icing over the chest with the straight edge down the middle. Mould to the shape you want and then cut around the edge of the bottom of the cake (don’t worry about the collar just yet)
- Repeat this step for the other side of the shirt. Make sure they match up at the bottom.
- Roll out some grey/black fondant icing to create the tie. Place one strip around the neck, one piece down the shirt for the body of the tie and one piece around the top to create the knot. Use edible glue to secure it all.
- Roll out some slightly thicker pieces of white fondant icing. Cut into shape and stick to the top of the shirt to create the collars.

THE BUTTONS:
- Pour chocolate into a button mould like this one. Once set lift out and glue onto the shirt with edible glue.

And that’s that! A great looking cake that isn’t as difficult as it looks. If you’re going to try this, let me know if you have any questions!
I hope you can make someone as happy as this one did.
Up, up and away!………..
Thanks for the instructions on how to do this! I decided to make it for fathers day and it turned out cute!
That’s great! I hope your dad enjoys it!
Your cakes are fantastic, im just a beginner but im trying to build a portfolio of sorts so thought I’d set up a blog, im definitely going to have a go at the piggie mud cake, my kids school fair is on soon so might donate one to them, (thats if my lot dont eat it first) lol, id love to keep up with your posts and stuff if thats alright with u.
Of course! I’m a beginner too. Love your Ninja Turtles cake! Very creative.
You can signup to the blog to receive an email whenever a new post is made at the bottom of the page.
Thank u, glad u had a look, will sign up, my next one is huge, fingers crossed I can pull it off its for my nieces birthday will put a pic up nearer the time, im surprised your a beginner too your cakes are so good.